 |
UTE «ULTRAMETRIX»
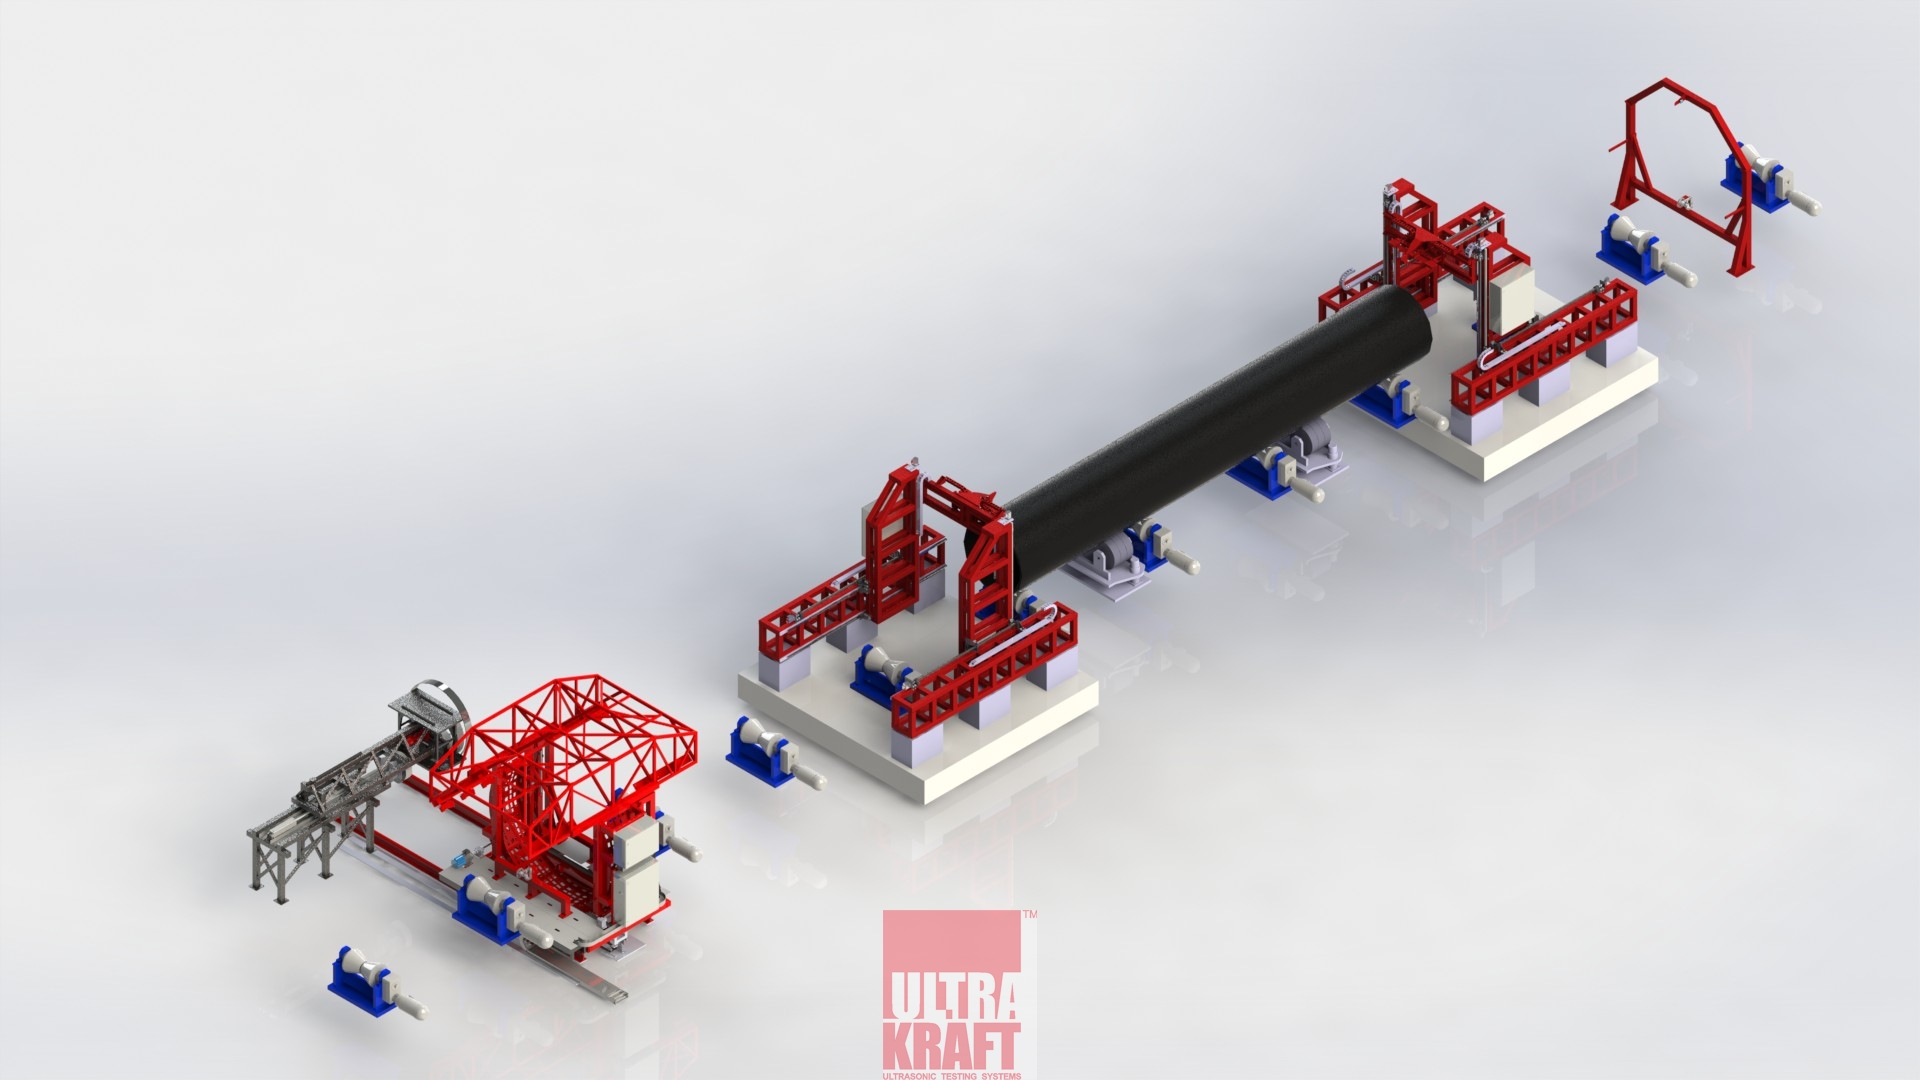
UTE «ULTRAMETRIX» is intended for an automated measurement of pipe geometry of diameter up to 1420 mm.
Part number:
Supplier:
Ultrakraft JSCDescription
UTE 'ULTRAMETRIX" consists conventionally of two independent systems:
Measuring system of diameter, out-of-roundness and curvature of the pipes, including test unit for the pipe crossing profile and the pipe curvature.
Measuring system for parameters of the pipe ends bevel, cutting obliquity as well as parameters of the weld and heat-affected zone.
SPECIAL CONSTRUCTION CHARACHTERISTICS:
Monolithic rigid structure of the gauge length for the measuring system of the pipe curvature has position stabilization in order to avoid and to absorb the external and natural vibrations;
The measurement circuit of the pipe curvature allows measuring of the curvature of the central axis of the pipe as well as the curvature of the complete surface. It is important, because the accurate 3D-model of the pipe can be constructed on the basis of the data on the central axis position of the pipe and geometry of profiles in each cross section. It makes it possible to define the curvature of any pipe areas according to any requirements Pipe Buyer;
Automated adjustment and calibration of laser scanners. Automated calibration station and software module for computer system calibration are used for adjustment and calibration. Adjustment and calibration of the Equipment are carried out automatically without operator. The calibration results are saved as an electronic protocol and can be printed out.
The measurement circuit allows measurement conducting of full surface profile of the pipe with the resolution no less than least 5 mm. This solution allows detecting of the surface flaws, molding fault visualizing in the pipe expander, using of statistical analysis to plan the remedial maintenance of the Equipment based on its condition. It makes it possible to prevent the defective products production.
MAIN ADVANTAGES OF EQUIPMENT
Measured parameters:
Outside diameter of the pipe ends and pipe body;
General nonlinearity (out-of-roundness) of the pipe;
Local nonlinearity(out-of-roundness) of the pipe;
Pipe ends ovality;
Pipe body ovality;
Theoretical mass;
Difference between the outside pipe diameter between its ends;
Pipe length;
Measurement of pipe ends bevel geometry;
Radial displacement of the edge weld, height, width of the weld;
Inside diameter of pipe ends;
Wall thickness of pipe ends and pipe body;
The difference between the inside diameter of the pipe and its ends.
THE EQUIPMENT IS DESIGNET AND MANUFACTURED IN CLOSE COOPERATION WITH THE RECEACH AND PRODUCTION COMPANY «MARVIE».